

[vc_row][vc_column][ultimate_ctation ctaction_background=”#1879DA” ctaction_background_hover=”#1879DA”]Flag making is an exciting art activity to boost imagination in a unique way and unleash kids’ creativity and self-expression.[/ultimate_ctation][/vc_column][/vc_row]
Before diving into the design process of flagmaking, let’s start with some background!
Finding Purpose for Your Flag
 Making and waving their own flag will mean more to kids when they know what flags are used for and how they work. A flag can be used to represent a country (like America), a group (like pirates), or even an individual. Flags have also been used to warn people about danger, signify peace, or just for decoration. So your child might make a flag to represent your family, their own identity, or just to express a creative idea.
On every flag, you’ll find different colors, shapes, and symbols that represent different ideals for the country or group. On the American flag, we use red, white, and blue which match the colors on the British flag since that was who ruled America before. Then there are stripes to represent the original 13 colonies and stars to represent the current 50 states. You’ll notice the stripes follow an alternating pattern of red and white.
Choosing Your Base
 Flags are mostly made of lightweight cloth that can blow in the wind. For today’s activity, we recommend using a pillowcase or old tablecloth that can be painted on. Not all flags are rectangular. Some are square or triangle-shaped, and there is no rule that flags can’t be other shapes. However, since the goal is to have a flag wave in the wind, some shapes like a star may not be the most practical. To get flags to fly, they need to be attached to some kind of staff, such as a stick or pole.
Flag Parts to Know
Here are the most important flag parts to be familiar with before making your own flag.
-
- Field: the main area of a flag’s surface
- Canton: upper corner of a flag with a distinct design; also known as the position of honor
- Staff: the pole or stick that holds your flag
- Header: a strip of fabric on the side of a flag with holes to tie it to the staff
- Pole Sleeve: a loop of fabric on the side of a flag, in place of a header, that slides onto a pole
Wow! You just learned a lot about flags.
So, are you ready to jump into making your own flag?
You’ll Need:
- Cloth (old pillowcase or tablecloth)
- Scissors
- Paint
- A stick preferably double the length of your cloth
- Safety pins
- Duct tape
Design Decisions:
Think about these elements of your flag, and then follow the directions below.
- Size and shape
- Colors
- Symbols and what they represent
- Patterns and layout
–> Did you know the stars and stripes on the American flag didn’t have official layout specifications until 1912?
Directions
- First, cut your flag shape out of your pillowcase or tablecloth. Remember, you can use a rectangle, square, triangle, or any other shape you think can wave in the wind.
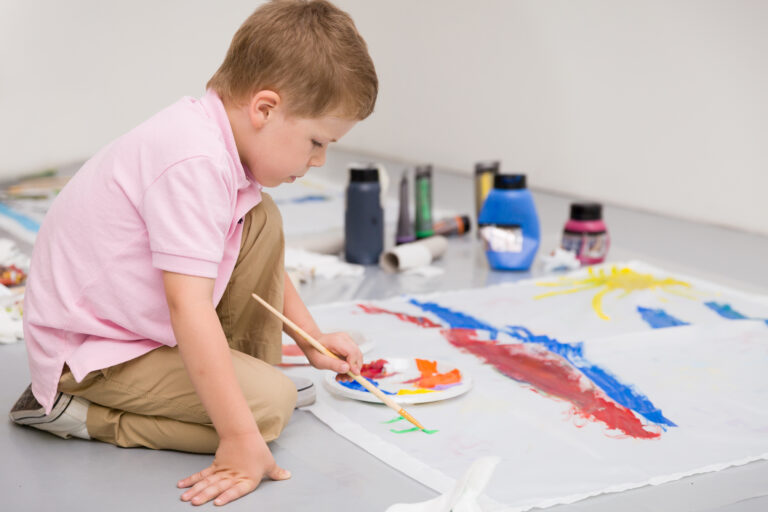
- Next, paint your design using the colors and symbols you’ve decided on.
- Now, fold the left edge of your flag around the top of your stick. This will look like a pole sleeve. Secure the fold to itself by using a safety pin at the top and bottom of your DIY “pole sleeve”.
- Then, to keep the flag from riding up or sliding down, place a piece of duct tape on the stick above and below the cloth.
- You’re ready to fly your flag! Push the bottom of your stick into the ground outside and let your flag wave proudly.
We’d love to see your flag design and hear about what it represents. Be sure to tag us @Baketivity on social media to share your high-flying flags!
 Find more cool kits here!